
Anyway thank you Petra Van der Spek for sending me the photos... even if me Mr Forgetfulness didn't use them until now!
When you request a leather flyleaf from Van der Spek for your Custom Planner this is how it is made.. The photos taken by Petra are of the flyleaf in my A5 Manager Custom organiser. There are a few photos also of the Standard size flyleaf too, that was made at the same time.
As this a rather picture heavy post I have added a break part way down, please click on the read more link to see the rest of the post.
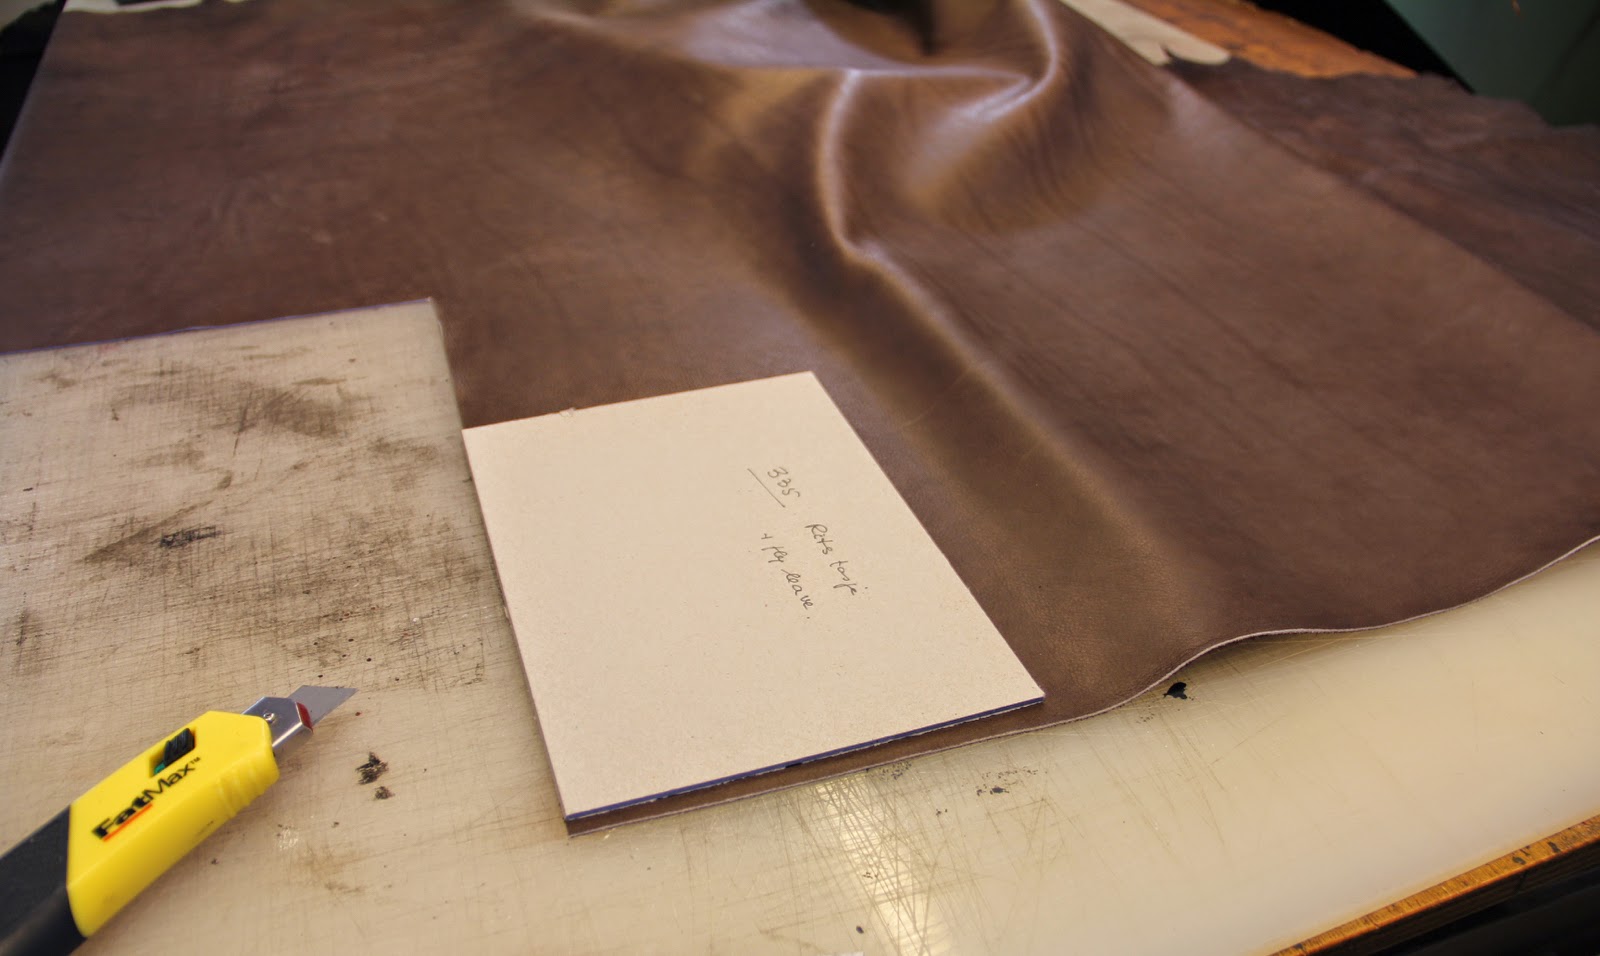 |
| Selecting the leather before cutting it to size |
 |
| Cutting out the leather using a template |
 |
| Cutting out the reverse side leather. |
 |
| Checking the leather |
 |
| Splitting the leather (it shaves of wafer thin slices of the the back) |
 |
| Checking the split leather for thickness |
 |
| Applying glue to the reverse side of the leather |
 |
| Placing the other piece of leather on to the glue. |
 |
| Smoothing out the leather to ensure there are no air bubbles |
 |
| Showing the two tone effect |

 |
| Showing both sizes. |
 |
| A block is put on top to add pressure whilst the glue dries |
 |
| Cutting to size |
 |
| Cutting to the correct size |

 |
| Checking the ensure it is the correct size |
 |
| Again showing the two colours |
 |
| Cutting the corners to round them |
 |
| Pull the lever down |
 |
| and you have nicely rounded corners. |
 |
| About to be stitched with contrasting coloured threads. |
 |
| Machine sewn around all the edges |
 |
| As you can see the corner is neatly done |
 |
| The thread is then cut |
 |
| Finished stitching |
 |
| The loose ends are trimmed back |
 |
| Then the ends of the thread are burnt this melts the threads together. |
 |
| To make the holes in leather these 'clicking knives' are used |
 |
| They are like a hole punch but the pressure comes from the large press |
 |
| All 6 holes are punched through the leather together. |
 |
| And there we are two finished flyleaves. |
Van der Spek can also supply zip pocket leather flyleaves as well, the making of these is similar with the exception of the insertion of the zip and of course they aren't glued together!
You will find the flyleaves in the Accessories section of the VDSshop website. If you are ordering these at the same time as your organiser they will be the same leather colours as your organiser unless you contact Petra to say different.
Once again thank you to Petra for providing the excellent photographs.
No comments:
Post a Comment