
So here are some simple hints and tips on using our inserts and making them your own.
- Go to the Diary Insert page and find the insert you like the most.
- Either download the Word or PDF one for the year you want if you want to use it as it is. And then print it. Or
- Download the source files the Word and Excel files you will need both.
- Open the Excel file and set the Cell A2 to the correct start date for the particular insert you are modifying. The spreadsheet should fully update from just changing that one cell. Save the file and exit Excel
- Open the Word file and make what ever changes you wish to make such as font, line colour etc. Save the file.
- Perform the mail merge to a new file.
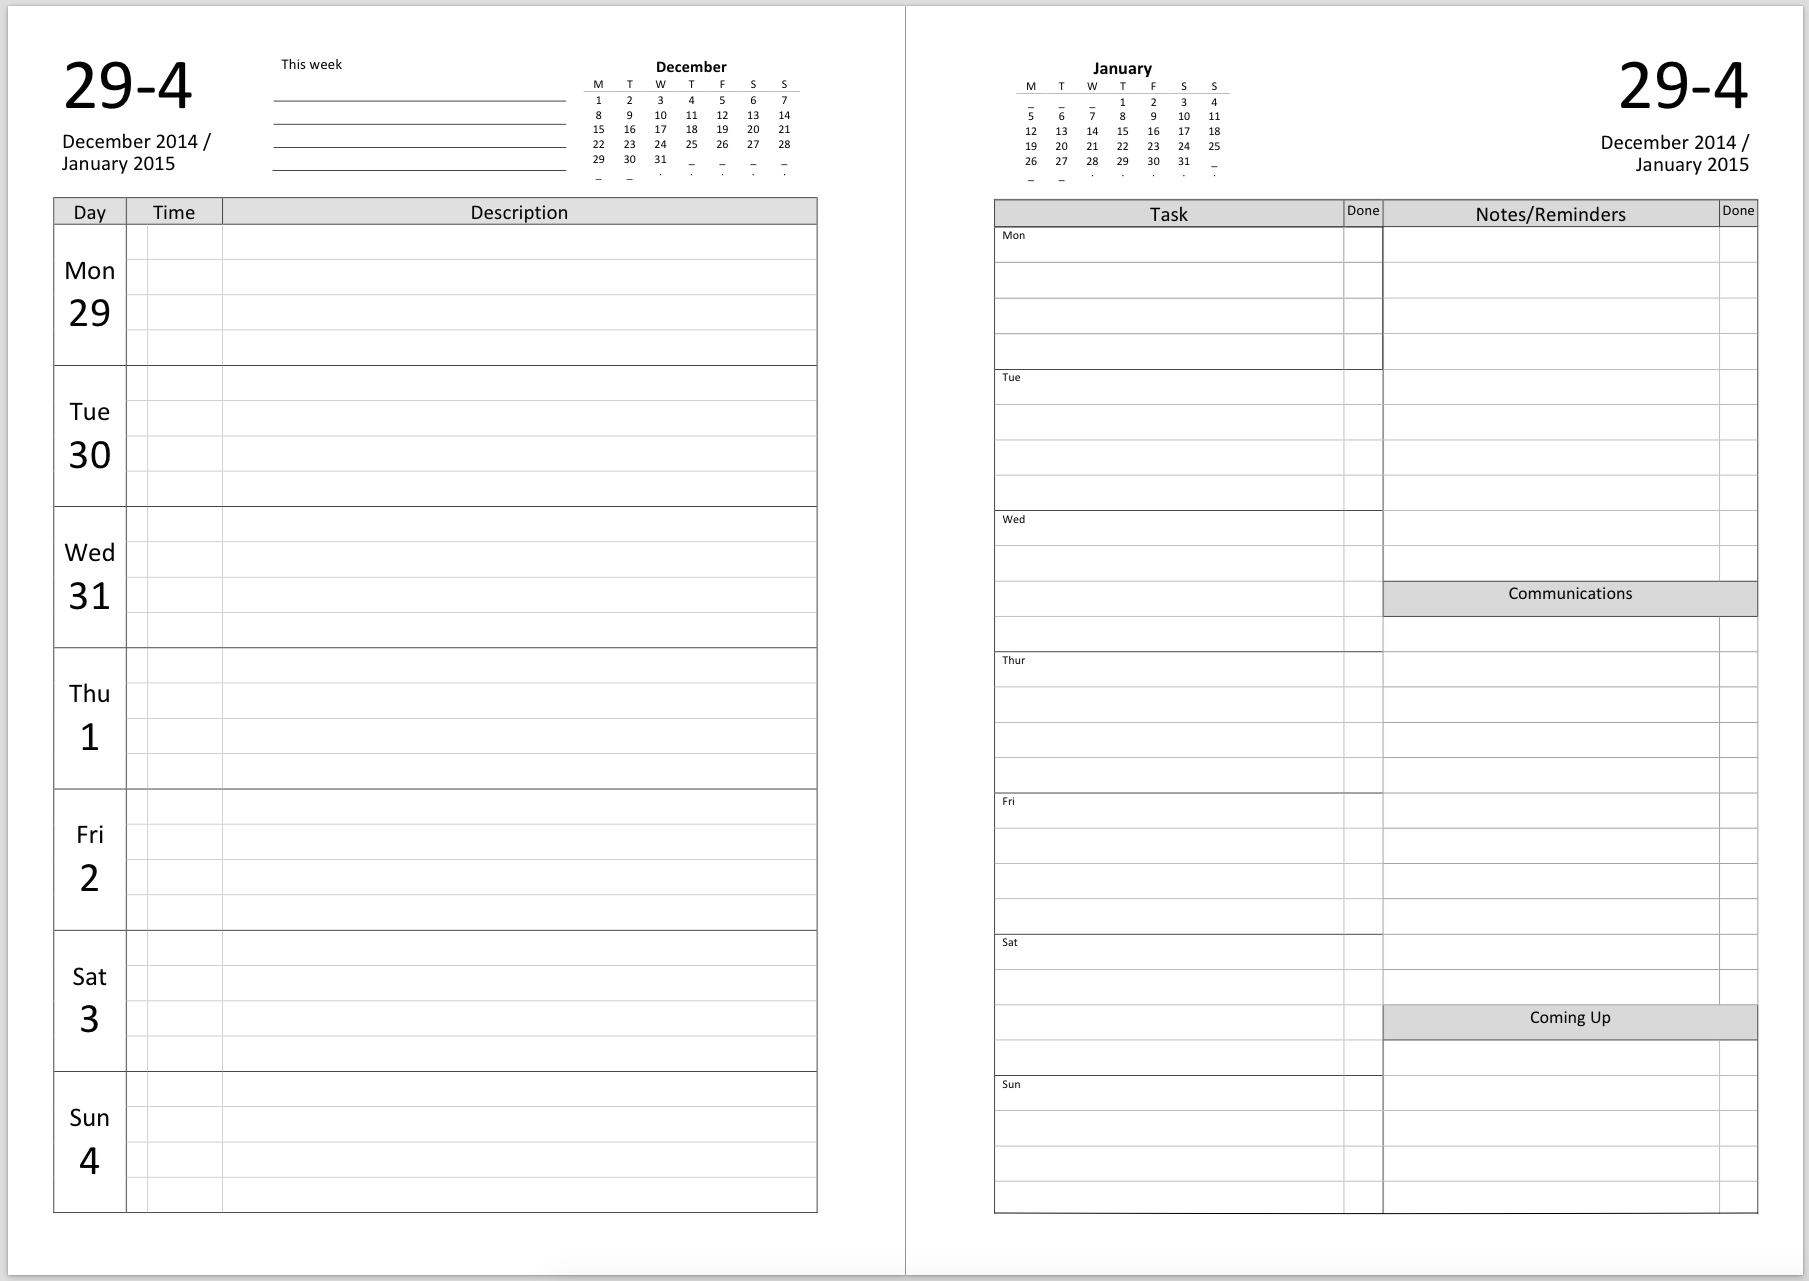
- In the new file you might need to insert a page break at the start of the first page to force a blank page at the beginning so that your insert is printed on the correct pages. Remember even numbered pages (2,4,6 etc) are all left hand pages, and odd numbered pages (1,3,5 etc) are all right hand pages once printed and inserted in to your organiser. So the page break is required for inserts such as week per view (week on 2 pages), month per view (month on 2 pages) etc.
- To make sure your pages all have the correct margins you need to find all of the section breaks (^b ) in the new document and replace them with nothing, just leave the replace field empty.
- Save your new file with a year filename assuming you are happy with the result, otherwise don't save it, go back to step 5 and re-edit your Word file and repeat the process from there until you are happy with the result.
- Print out your inserts and punch them.
Simple really!
On the Diary Insert page you will find some tutorial videos covering different versions of Word/Office that will take you through the ten steps above.
Some printing tips.
On the Diary Insert page you will find some tutorial videos covering different versions of Word/Office that will take you through the ten steps above.
Some printing tips.
- Read this post for tips on printing A5 and Personal inserts.
- Read this post for tips on printing A6 inserts.
- Always print your files in normal order not reverse order, some printers call the print order collation, observing what pages are being printed first you will know which order it is being printed in.
- Remember if you aren't using booklet print when printing A5 inserts that you have to scale the file to 71% to print direct on to A5 size paper.
- If you are printing on to A6 size paper you need to scale by 50%.
Please remember you can not use our designs for commercial gain, even if you have changed them with different fonts etc. Thank you.

This work by Philofaxy is licensed under a Creative Commons Attribution-NonCommercial 3.0 Unported License. Please download, adapt, use, share, but do not charge or use commercially.
Love this, Steve! You and Ray Blake are the best for providing all these inserts at no charge!
ReplyDeleteSteve (or any other knowledgeable person) Regarding printing directly onto personal size paper - I tried what I thought was a file set up to do that but the monthly calendar didn't print correctly. I got about a quarter of the image - when I tried to scale the image to fit the paper I got a tiny image. Do you know what I was doing wrong - I thought that I was printing a file that said it was for printing directly on personal size paper.... Appreciate the help
ReplyDeleteFrom your description, it sounds like either the computer or the printer doesn't know what size paper it being fed to it and it is assuming that it's normal letter paper not Personal size paper.
DeleteUnfortunately with so many different printers out there it is difficult to give a detailed step by step guide as to how to solve the issue.
I agree, that is what it seemed like to me as well. I know it's not the printer - The thing is I print personal inserts by Maryanne moll, and the image is just the page with blank space around it... when I go to the personal size files on personal paper it looks like personal size insert on a letter size page... so when I print its printing the entire image which is the insert part and the blank space around it. Maybe I am looking in the wrong file section?
ReplyDeleteWhich insert where you printing? I always print from the Word files rather than the PDFs
DeleteIts this one http://philofaxy.com/inserts/Personal%20MonthView/2018mergedMPVLined_PersonalonPersonal.pdf but this is interesting - I looked at some of the others and the files do not look like this, they look like what I'm expecting which is this: http://philofaxy.com/inserts/Personal%20MonthView/2018mergedMPV_PersonalonPersonal.pdf
DeleteHow do I perform the mail merge? I altered the Word layout but now I'm stupmped as to how to make 365 pages from the one. I've tried following online instructions but I am confused now and can't seem to format it. please help.
ReplyDeleteWhich version of Office are you using?
DeleteI managed to merge the files, but there are no section breaks and I still cant get the table to mirror. I'm using Word 2016, but the whole table just wants to hang to the right. What do I do?
ReplyDeleteEmail me the word file and the excel file and I will take a look for you.
DeleteI am going to do a video tutorial on Word 2016 soon.